
How to use OneNote online with Outlook
In order to use OneNote online with Outlook, the first thing you need to do is open session on Microsoft´s email platform, which can be accessed by the URL https://outlook.live.com/. In case you do not have an account, you can sign up by clicking in the “Create one” button.
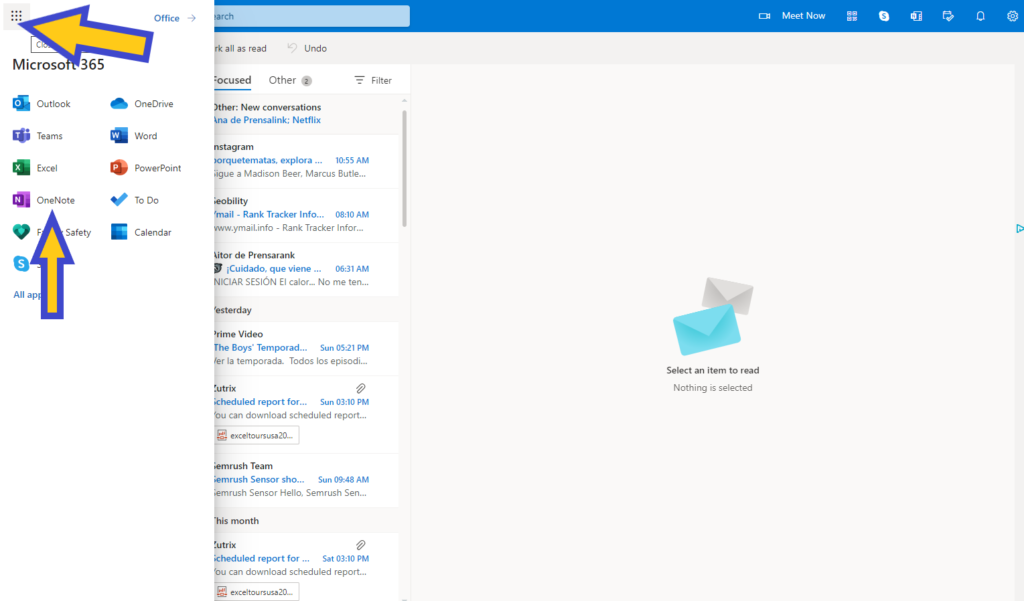
Now that you are logged in on Outlook and the platform shows you your home screen, in order to locate OneNote functions and others you have to click on the applications icon, which is located at the top left corner of the screen, right above the navigation panel.
Access to OneNote Online
Like this, you will have access to different products and services offered by Microsoft that can be used online through your web browser, such as Skype, One Drive, Bing and others. In this case, we are interested in finding the way to use notebooks, and for that we will find the “One Note Online” icon in the application panel, being the service platform belonging to the Office suite to perform this function.
By doing so, a new browser window or tab will be opened with the corresponding OneNote website, logging you in automatically to start using the service, as well as showing you “My notebooks” page where all of your created notebooks and default ones will be available.
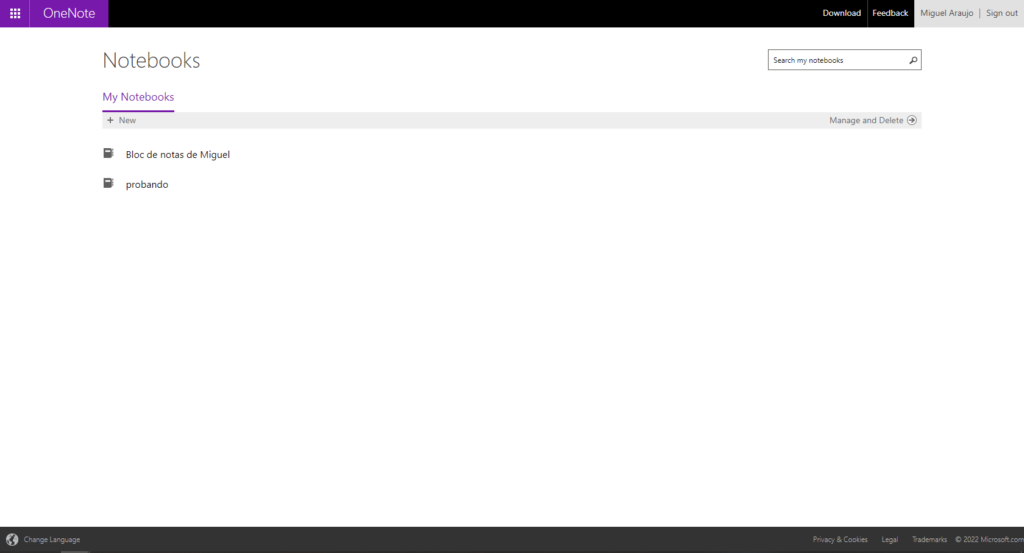
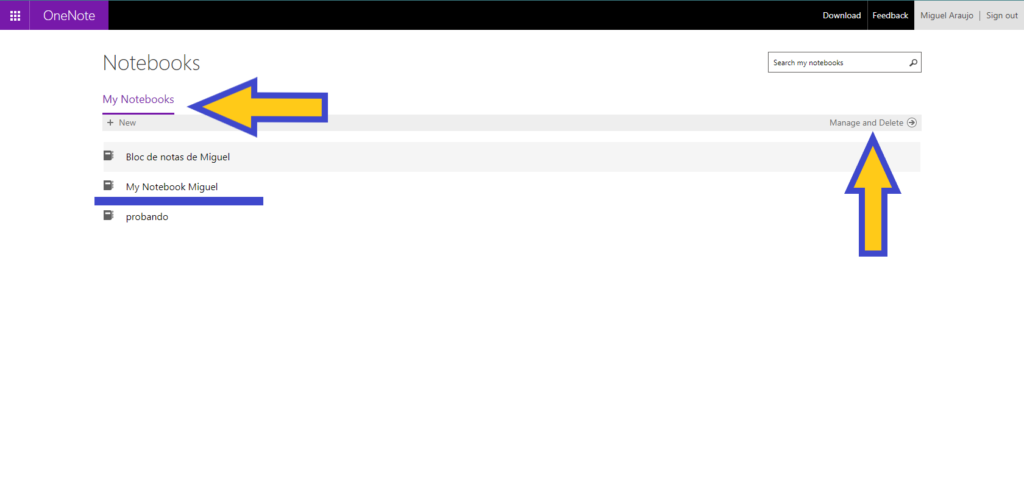
For example, the platform will create a default notebook with your name, being at the bottom of the “My notebooks” menu, while at the top of it two options will be shown that allow you to manage and delete created notebooks, as well as creating new ones.
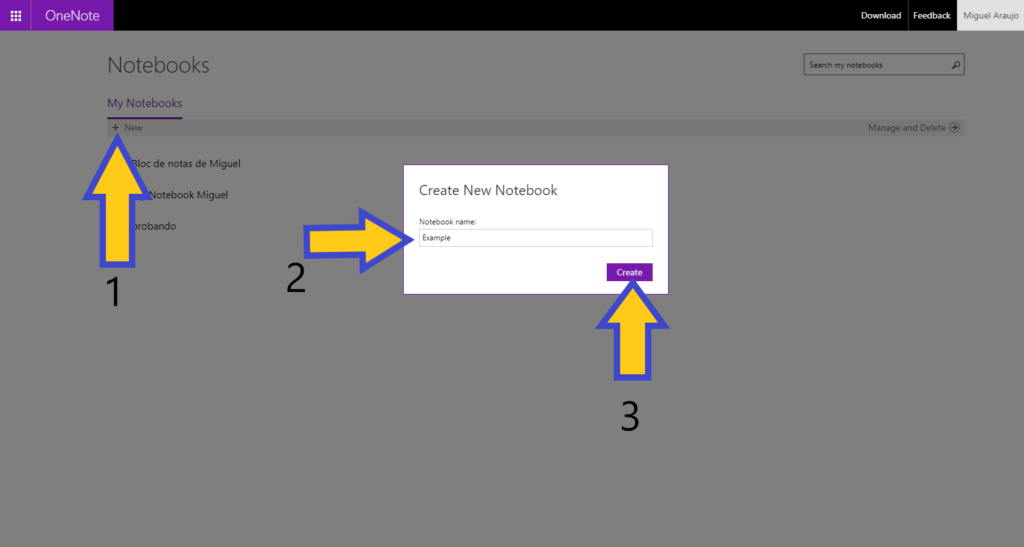
Creating a new notebook with customizable name is easy; just click on the “+New” option and a special window will be opened for you to type the new notebook´s name. After that, just click in “Create” button and the new notebook will be there ready for use. In this case, the new notebook will be named “Fast Notes” and from there we will continue the tutorial.
OneNote Online main operating panels, creating and naming new notes
Being in the recently created notebook, the next logical thing to do is starting using it with the wide set of possibilities offered by OneNote Online through Microsoft´s Outlook platform.
First of all, the platform gets loaded showing main panels or spaces in the layout; at the left the notebook panel where all of your created notebooks are displayed, at the center the detailed panel where you can see and add new sections and pages into the selected notebook, as well as the writing panel placed at the right, from where you can add and modify individual notes.
Also, from this page and permanently while you are using the service you will be able to see the option bar at the top of the screen, where you have access to different actions and tools to modify notes and all the entered information. Nevertheless, we will address this option bar in detailed in the next section of this tutorial, after explaining the use of the different panels and note creation.
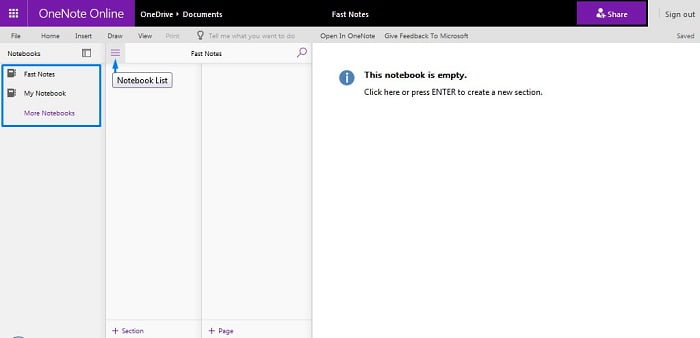
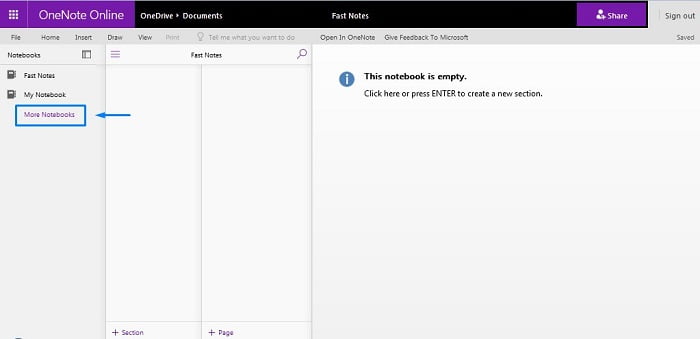
Continuing, for you to hide and show the notebook panel you can click in the “Notebook list” button, and from this panel you can access your stock and created notebooks to add and modify sections and notes. Also, from this panel at the bottom you can access the option “More notebooks”, for you to create new notebooks and manage them.
Moving to the detailed panel at the center, from this space in the platform you can see the sections and pages added, as well as the possibility to create and delete them easily.
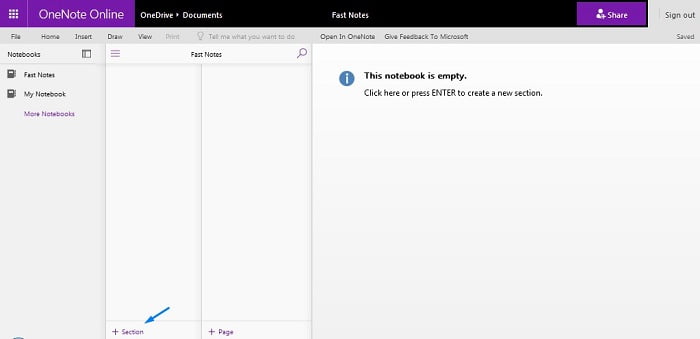
For example, sections are useful to organize notes by criteria and give general order to the notebook platform. So, to create a new section you can click in the “+Section” button at the button of the detailed panel, appearing a pop-up window allowing you to enter the name of it. Then, click in “OK” and the new section of the notebook you are will be created.
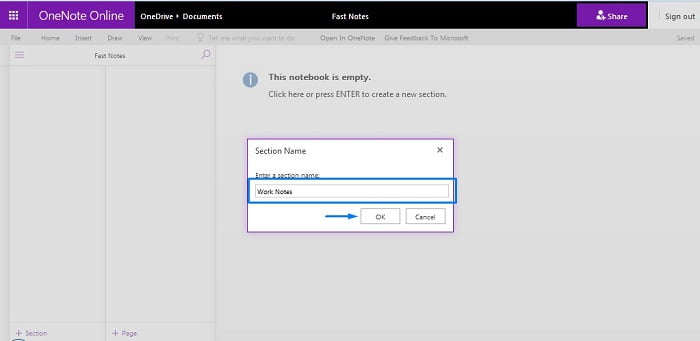
Having been created the new section, in this case called “Work Notes” as some type of folder specially created for notes related with working matters, now we can start creating pages or notes to keep important information at first hand.
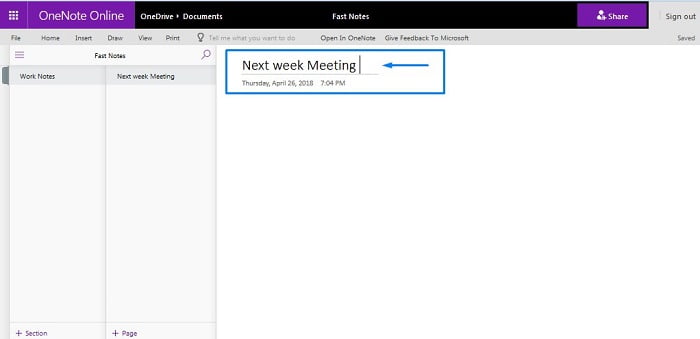
To do so, click in the option “+Page” at the right button of the detailed panel. By default, a note called “Untitled Page” is available just to modify and be customized.

In details, you can change the name of the default page or one created by you by just clicking or pressing Enter in the writing panel at the right, specifically in the space bar above the date and time information. In this case we will write “Next Week Meeting” and automatically such name will be added to identify the page or note.
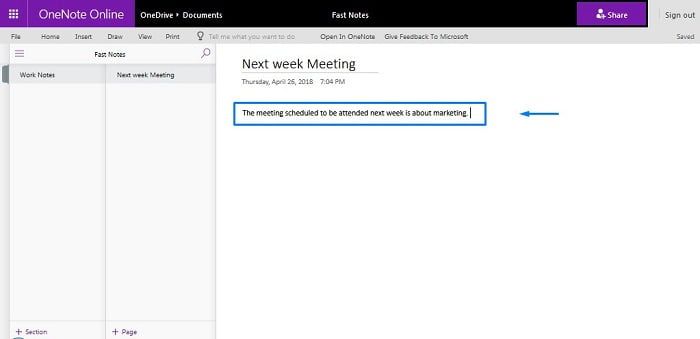
Now, by just clicking below the name of the page you are into you will be able to write any information you want.
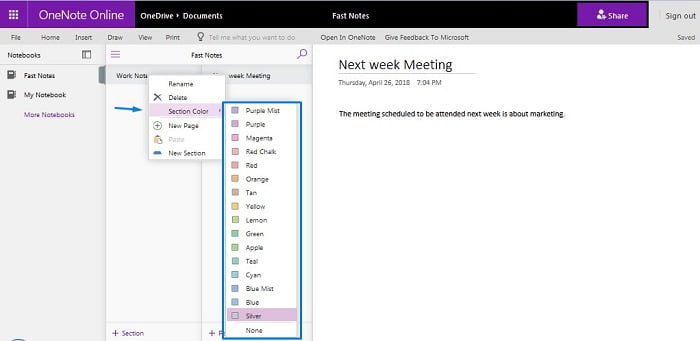
In case you want to delete created sections and notes, you can do it easily using this method: just click with the right button of your mouse and a little menu will be shown, where you only have to click in the “Delete” option, working this method with sections and pages.
Also, by clicking with the right button of your mouse on the section or page you can change the section color by choosing this option from the pop-up menu.

Modifying created notes and pages in OneNote online easily
We know now how to create sections and new pages with proper recognizable names and information, however, in this part of the tutorial we will be showing you how to modify created notes in an easy way.
In order to modify notes and pages you have created you have access to an option panel previously shown, placed at the top of the layout with options like “File”, “Home”, “Insert”, “Draw”, “View” and “Print”, having all of them different functions.
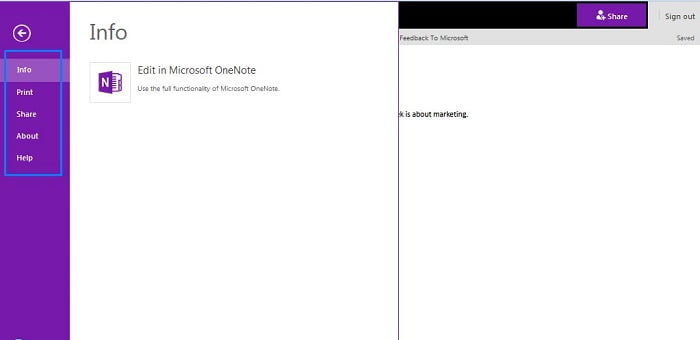
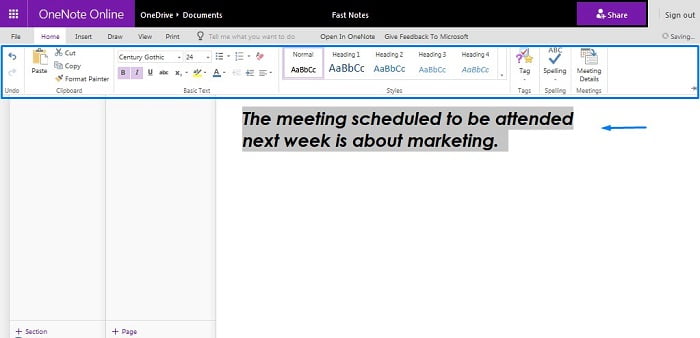
First, from the File option you can have info related with the software, print and share notes. In the same way, by clicking on “Home” you have access to text ribbon with options to change fonts and size, color, add effects like bold, italic underline, bullets, to apply headings, copy, paste and more. Some tools will be used on a note as example.
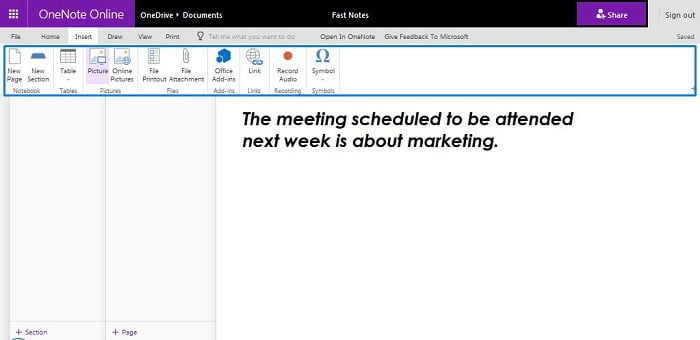
In second place, from the Insert option you will be able to insert images, open new sections in the note, insert attachments, adding Add-ins hyperlinks and other options.
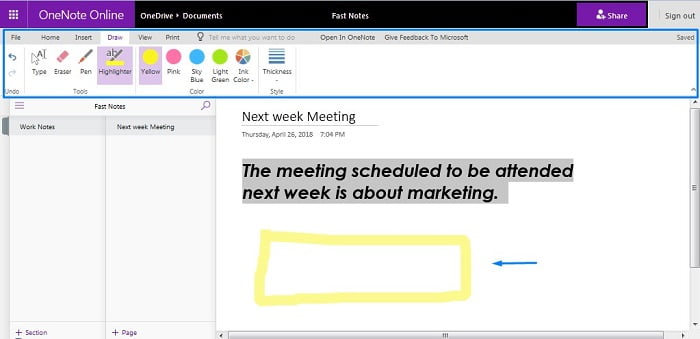
By using the “Draw” tab in the option panel you will be able to use tools to draw and paint, by choosing pen, erasers and highlighters, as well as allowing to change color and thickness.
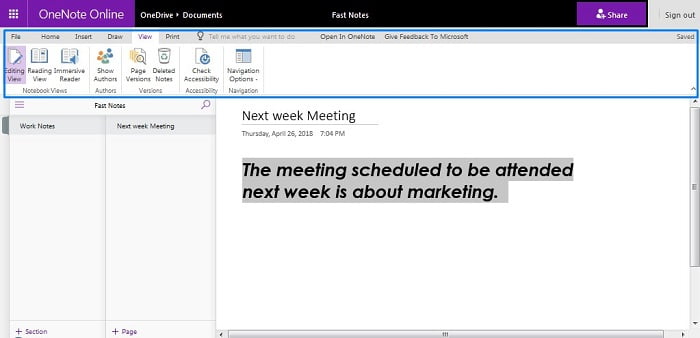
In relation to the View option you can manage accessibility, setting notebook views, versions and navigation.
And last but not least, with the “Print” button you will be able to print the notes and pages you have created, in case you need actual physical record of the information you have saved in such notes.
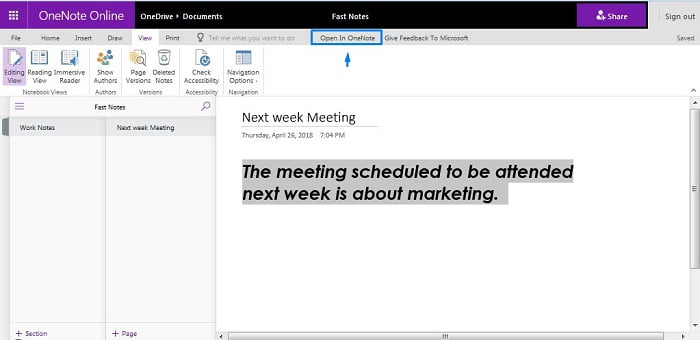
Also, it is important to remember all changes and modifications you make or saved automatically. Additionally, the note or page you are creating using OneNote Online can be opened directly into OneNote online as installed software in Office. To do so, just click in the option “Open in OneNote” placed next to the option panel at the top of the screen.
Related posts