
Creating an Account in ProtonMail: A Step-by-Step Guide
If you value your online privacy and seek an email service that prioritizes your anonymity as an essential right and civil liberty, ProtonMail is the platform to consider. It offers end-to-end encryption, zero-access security technologies, and various protocol and hardware-based features to safeguard your personal information. With no tracking, IP logging, or third-party monitoring, ProtonMail ensures your privacy even at a legal level, as it is based in Switzerland, beyond the jurisdiction of the EU and the US government.
Now, let's walk through the simple steps to create an account on ProtonMail and start utilizing this fully private email solution:
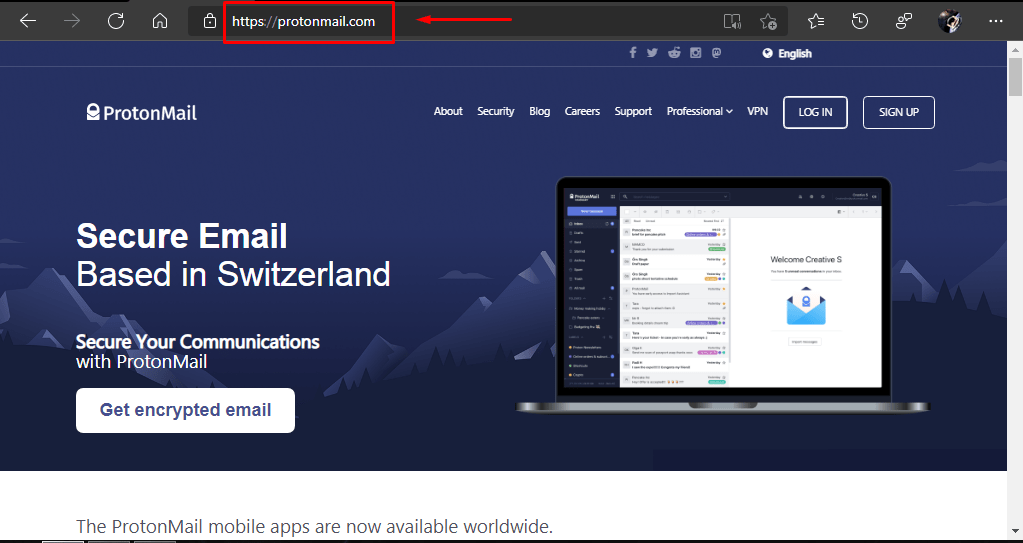
Step 1: Open your preferred internet browser and enter the URL "https://proton.me/mail" in the address bar. This will take you to the ProtonMail homepage.
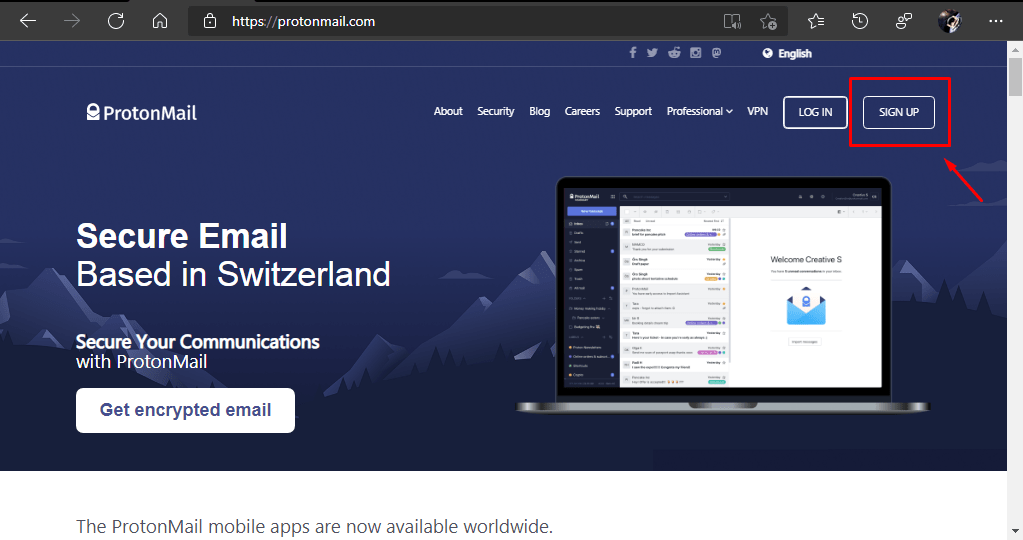
Step 2: On the homepage, locate the "Sign up" button at the top right corner and click on it to initiate the registration process.
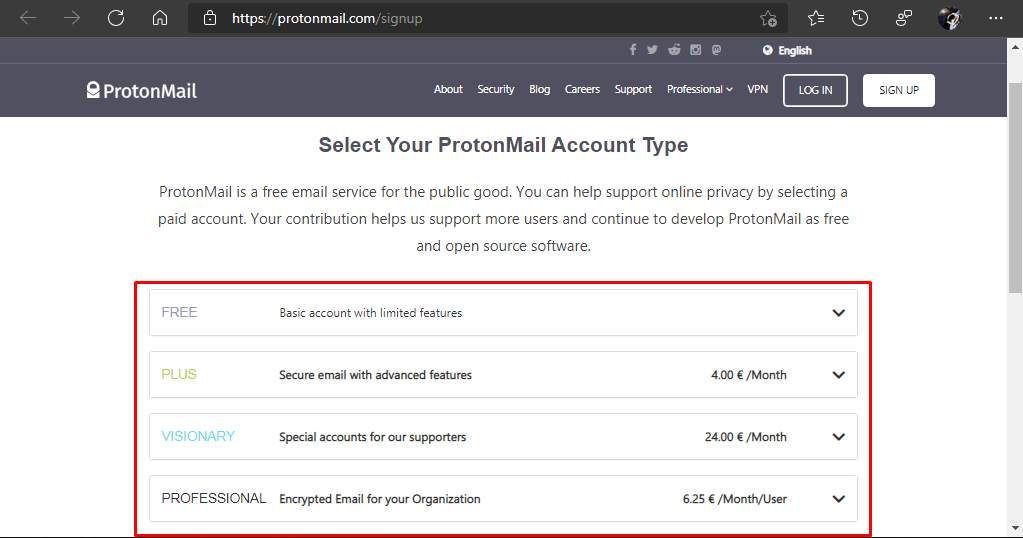
Step 3: ProtonMail will present you with four types of accounts: "Plus," "Visionary," "Professional" (paid options), and "Free" (limited features). To proceed with a free account, click on the "Free" option. You can upgrade to a different account type later for additional benefits.
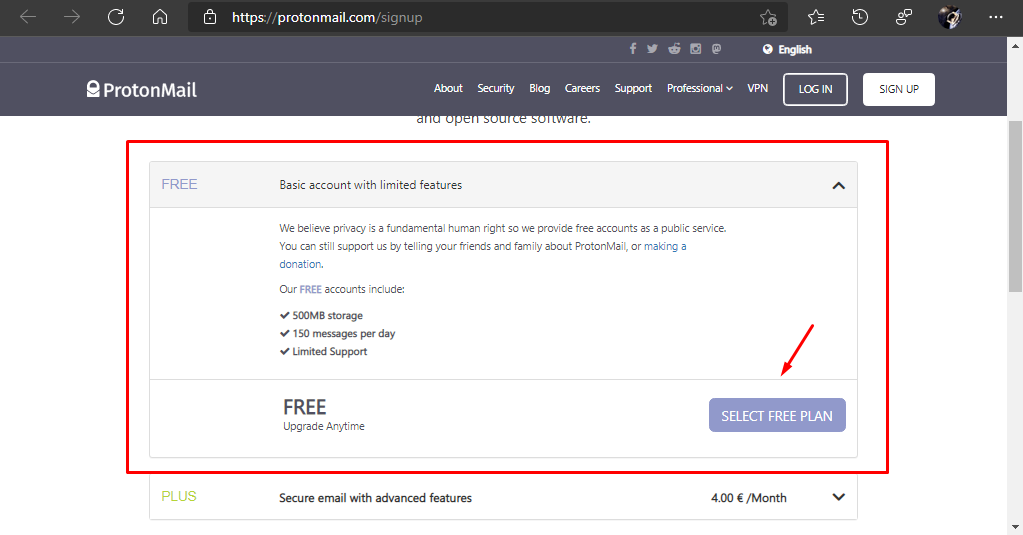
Step 4: Upon selecting the "Free" option, the platform will display the advantages of this account, such as 500 MB of storage, limited support, and 150 messages per day. Click on "Select free plan" to proceed.
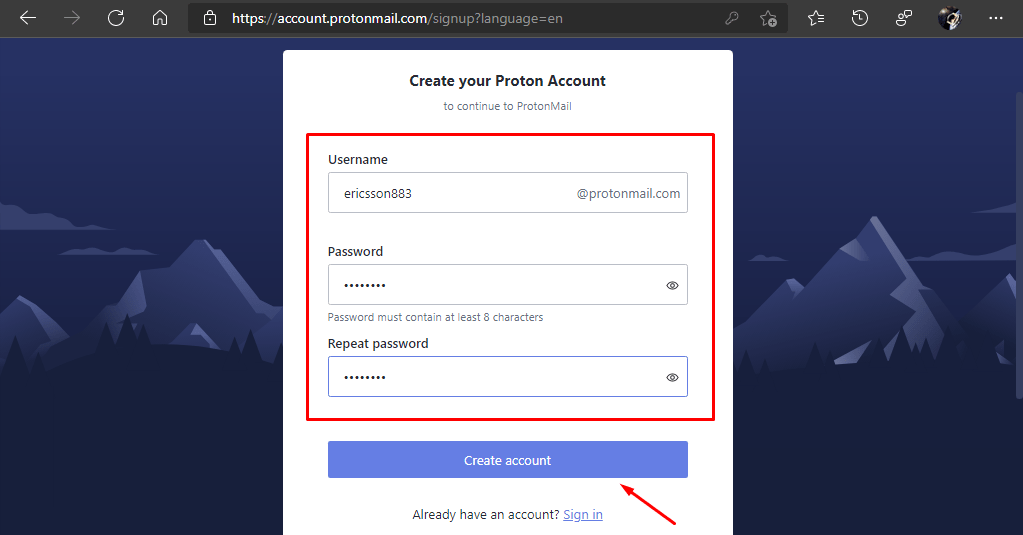
Step 5: The registration process will commence, and ProtonMail will prompt you to enter the required information: username, password, and repeat password. Fill in these details and click on "Create account."
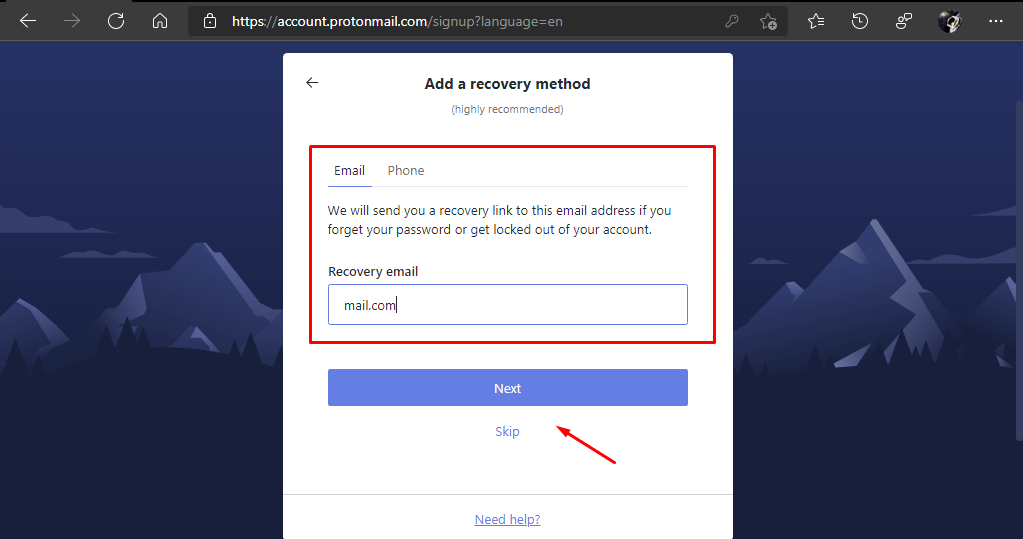
Step 6: If the provided information is valid, the platform will ask you to set a recovery method on the next screen. You can choose either a phone number or an email address for recovery purposes. If you wish to skip this step, you may click on "Skip." If you decide to set a recovery method, click on "Next."
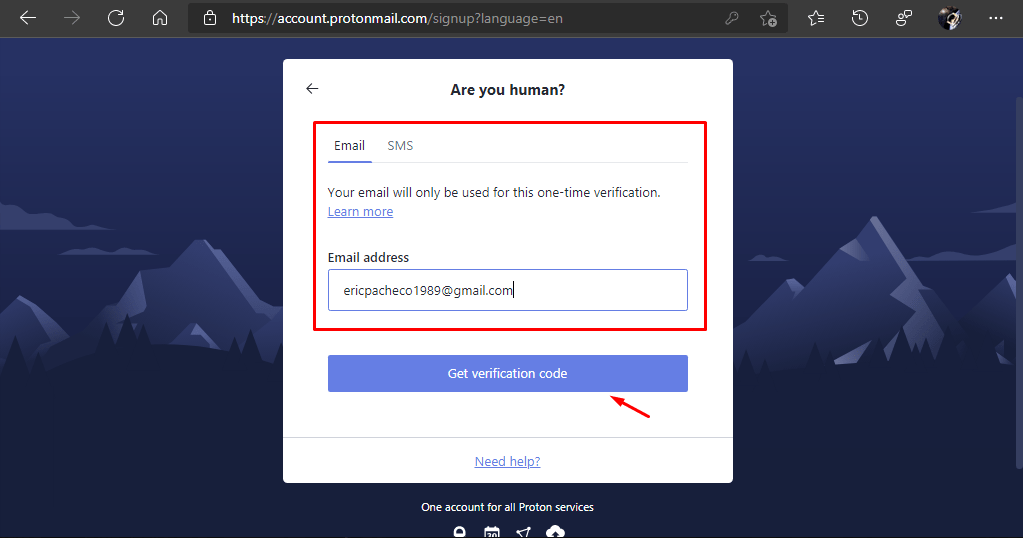
Step 7: In the final step, ProtonMail will request a valid email address for a one-time verification process to confirm your human identity. Enter the email address and click on "Get verification code."
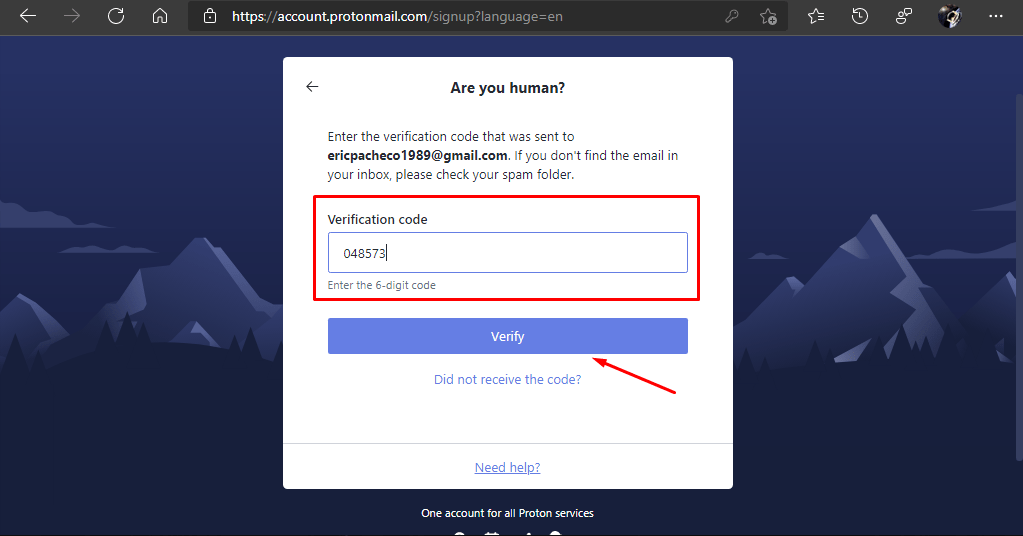
Step 8: On the last page, ProtonMail will prompt you to enter the verification code sent to the email address you provided earlier. Click on "Verify," and if the code is correct, your ProtonMail account will be successfully created. Your inbox will appear within a few seconds.
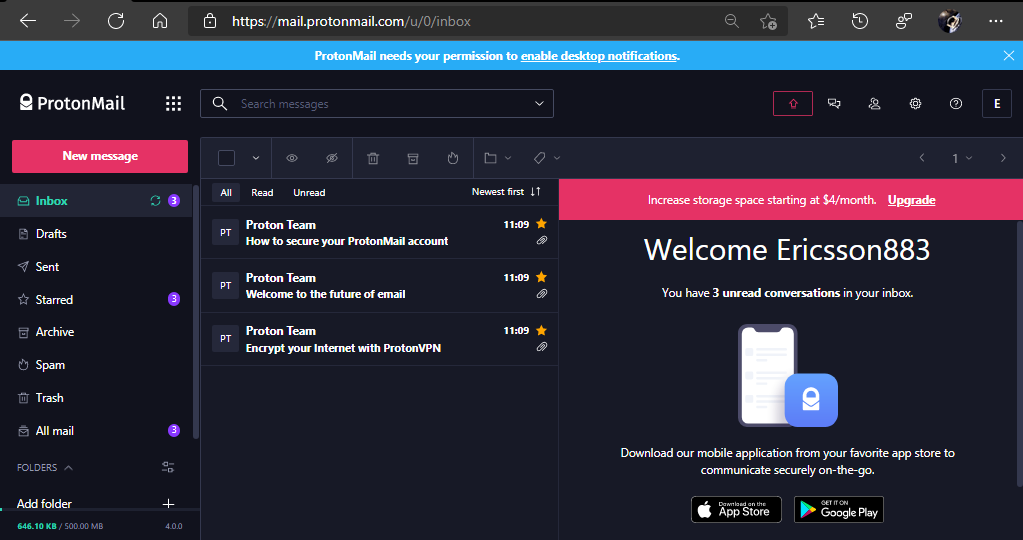
Congratulations! You have now created a ProtonMail account and can start enjoying the benefits of this secure and private email service.
Related posts