
Yopmail account temporary email
Protecting our privacy is definitely a must when it comes to services on the internet, since there are always risks respecting vulnerabilities and security breaches hackers and unscrupulous people are trying to exploit. Because of that, keeping our email addresses private online is the best thing we can do, and to do that there is nothing better than temporary email platforms like Yopmail.
But, how are we going to do when an email address is required to use an online service and sign up, if using our personal email is not recommended? That is easy, we can utilize a temporary email platform like Yopmail, as the one that allows us to create a proper message container online, with no registration, no password and auto-generated inbox in seconds.
With a Yopmail account we will be able to receive messages and confirmation emails that are required to sign up in different services on the internet, without the need to provide our personal and permanent accounts, keeping our privacy and avoiding those account get infected with SPAM.
A Yopmail account lasts for 7 days and then messages and email is destroyed for good, with no trace online if that is what is needed. Let´s learn to use this email temporary account, shall we? It is completely free.
Initial steps and options at Yopmail
Creating a new account using the Yopmail platform is easy, since the whole process is almost automatic and the user does not have to follow complicated procedures at all.
To start, by using our preferred internet browser like Chrome, Mozilla Firefox, Opera, Edge, Safari or another in their latest versions at least, we are going to visit the URL address www.yopmail.com, and like this we will be just one step ahead to have a disposable account, by accessing the home screen.
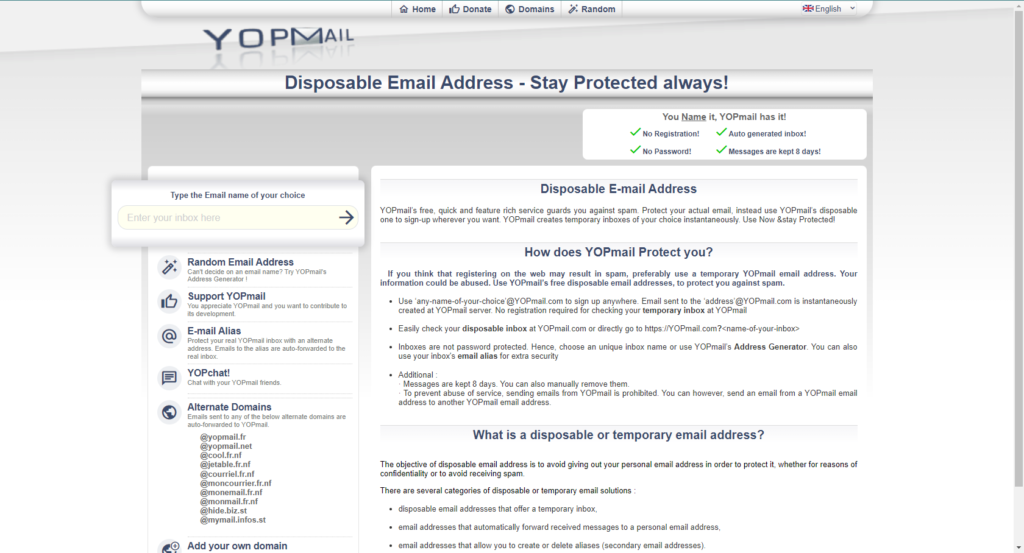
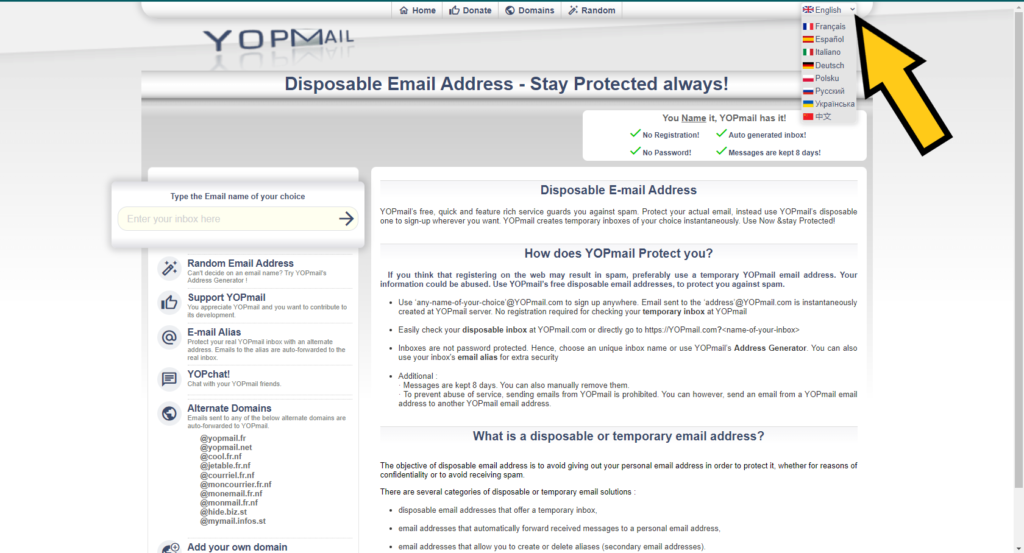
Now that we have entered, we are able to see the home screen and different options available. To begin with, at the very top of the layout there is a language bar with flags from distinct counties, and by clicking on any of them the platform will change language. There are available languages like English, Spanish, German, French and others, in case is needed to change it.
If we scroll down a little bit, although this depends on the size and resolution of the display you are using, we can see the home screen includes an option panel to the left and the instructions to use the platform to the right, in case there are doubts about how Yopmail works.
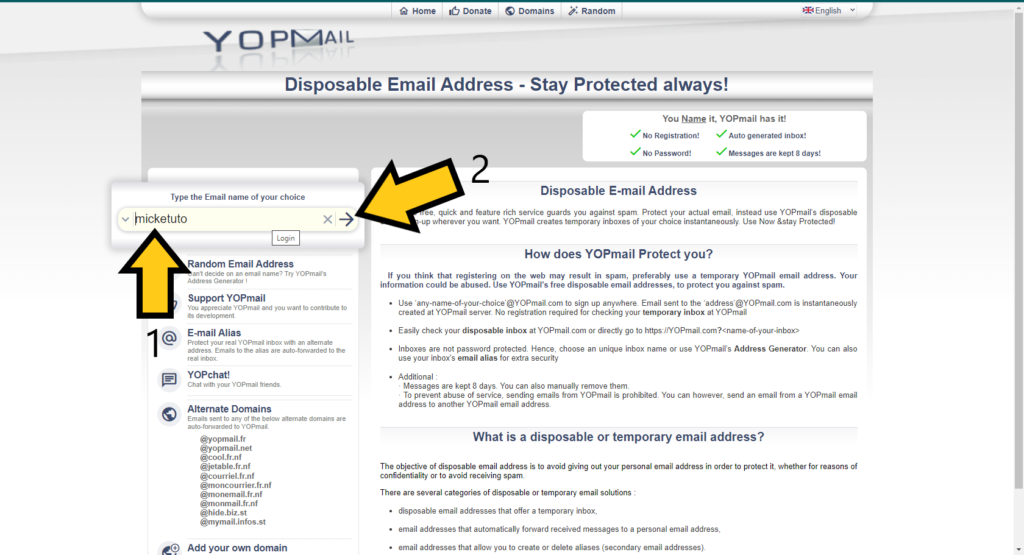
On the option panel there are different functions available to take advantage of. For example, in case we do not want to create a custom email account on Yopmail or we cannot decide a name, if we click on “Random Email Address” the platform will generate one for you.
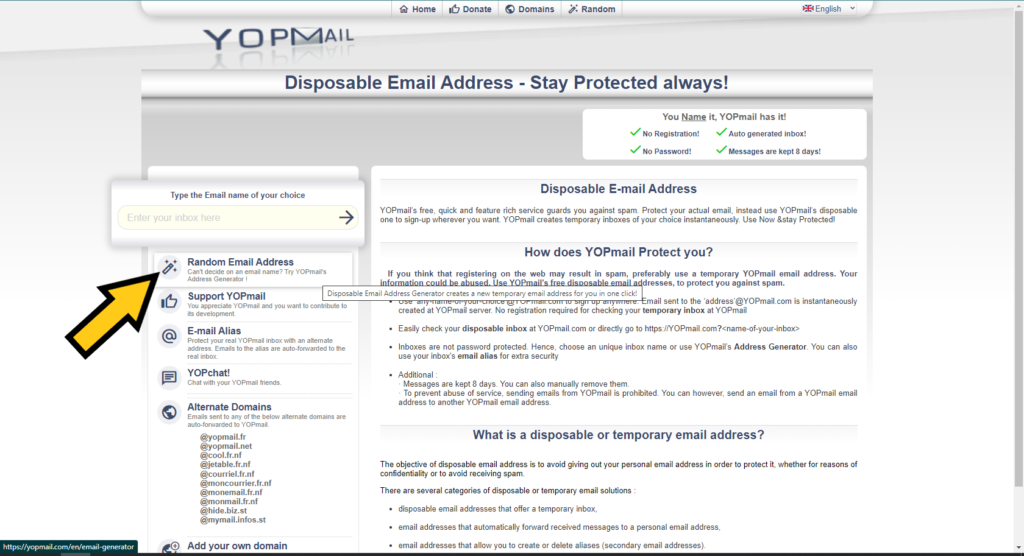
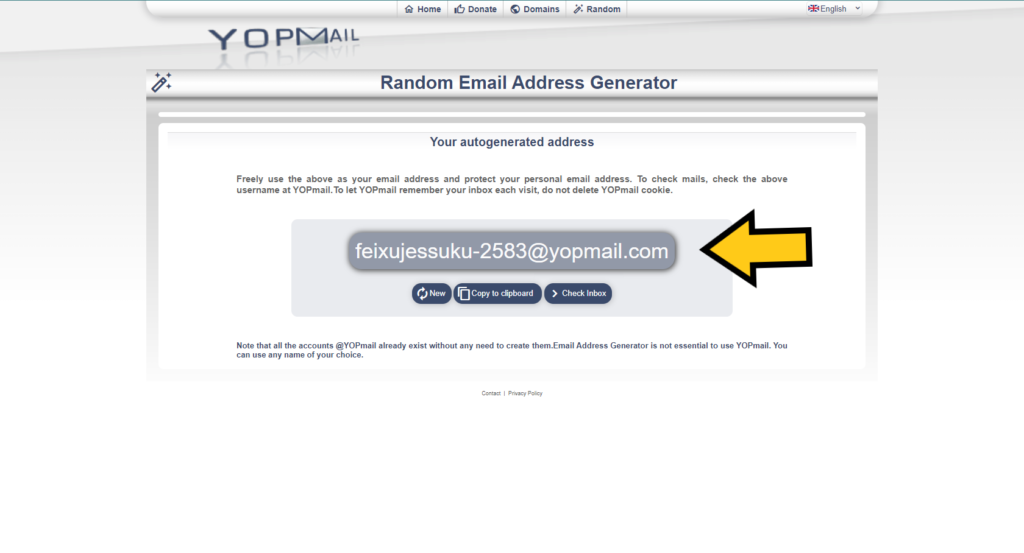
A new page will load showing the generated email address, and if you click on “Check Emails” the inbox will open. However, we will do that later in the tutorial.
Other functions included in the option panel have to do with adding a plug-in or widget directly to the browser, allowing to use Yopmail faster. It is also possible to set an email alias to hide the actual account, use the YopChat to communicate with friends through instant messages, along with domains that can be chosen from the list or add a new one.
Create new email account in Yopmail with custom name
Having accessed Yopmail and known every function available, the next step is to create our account to start using the platform, with customizable name that will be easier to remember in comparison to random characters.
To do so, we will type the name of our choice in the empty bar located above the option panel. In this case we will be typing “micketuto” as proper example. After typing the name, click on “Check Inbox” and the account will be created as micketuto@yopmail.com.
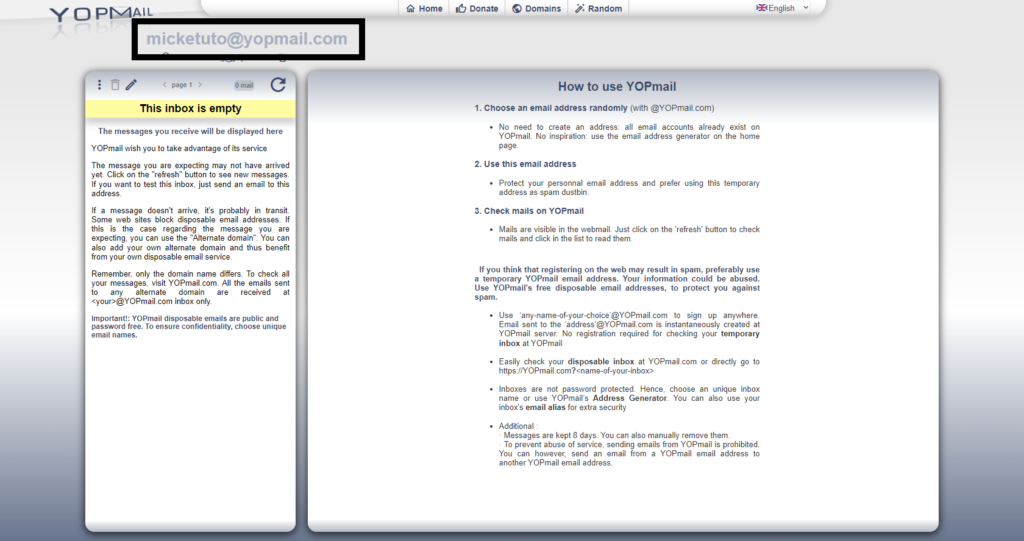
A few seconds later Yopmail will show the inbox, as the page where you will be able to check messages received and actually reply to those or send new ones, since Yopmail is of the few platforms of its type that allow to send emails, being the majority of similar services just message recipients.
Checking emails and writing new ones on YopMail´s inbox
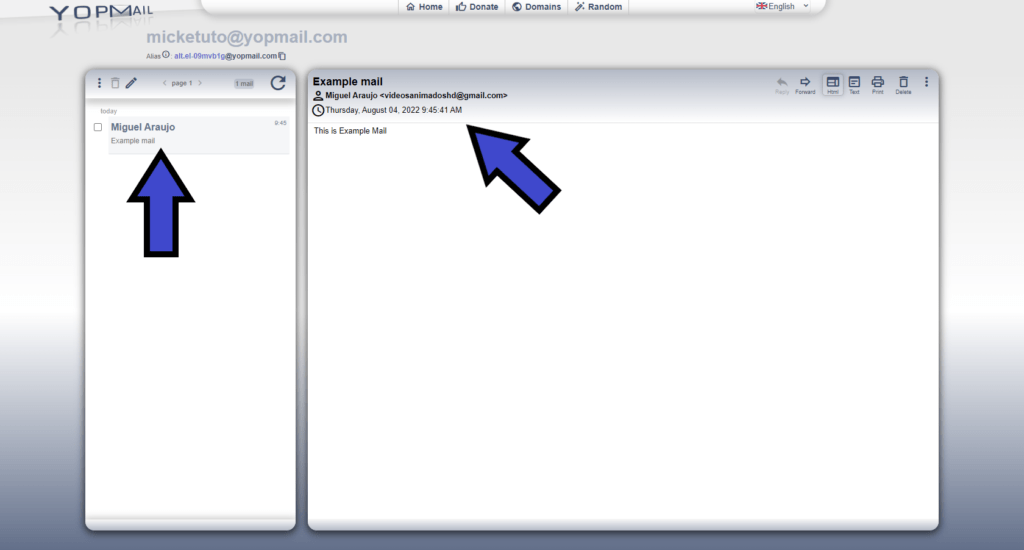
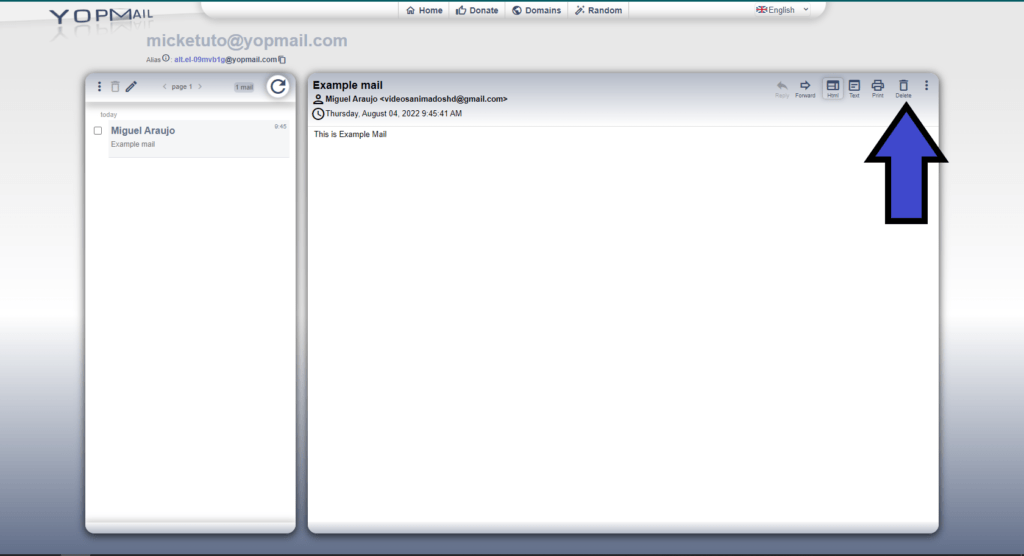
Now that we are in Yopmail´s inbox we are able to check if we have messages received. Specifically, the inbox is placed to the left and the messages are shown as a list, and obviously if we click on a specific email will open on the right panel showing the content and information sent, like date and time, subject and message itself.
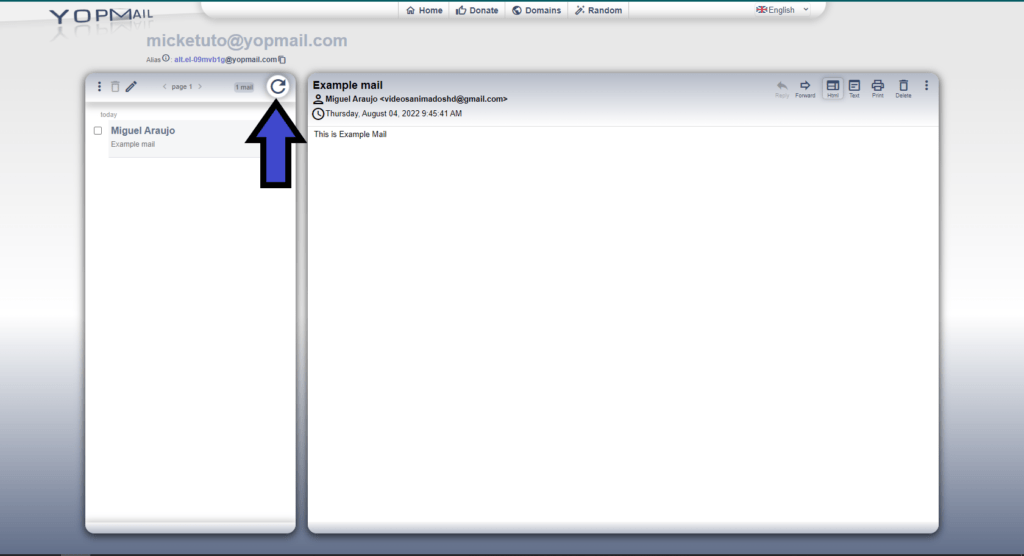
Right above the inbox the disposable email account is shown all the time, even giving the possibility to change it directly if that is the case. Also, right next to it there is the “Check for New Mails” button, which basically will refresh the platform to check if there are new messages received.
Next to every email received there is a check box, and if we click on it the message will be selected to perform different actions. For example, if we select an email and click on the “delete” button right above, the message will be permanently removed.
On another part, if we need to answer messages or compose new ones using Yopmail is easy. To the right there is the writing panel, which is the same where every message is shown when is opened.
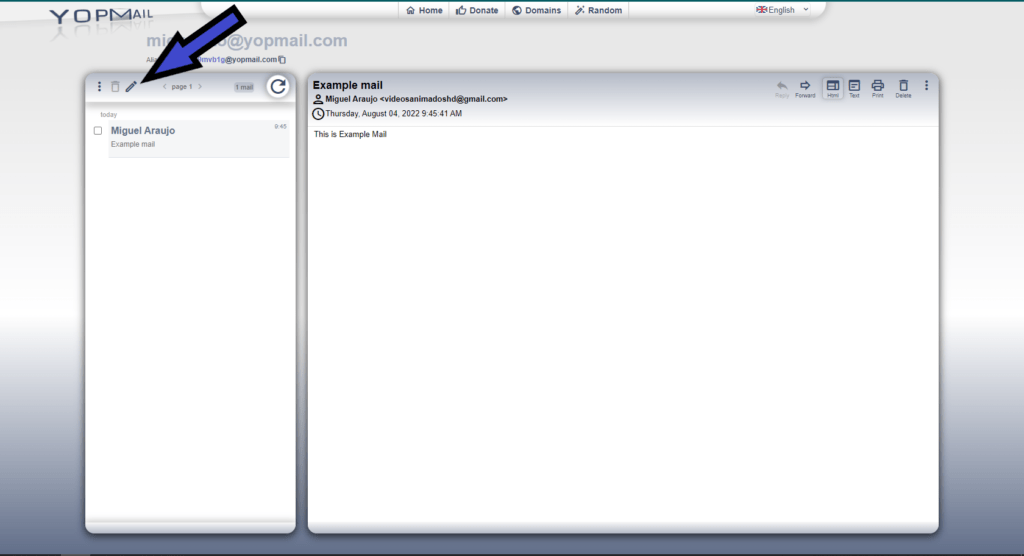
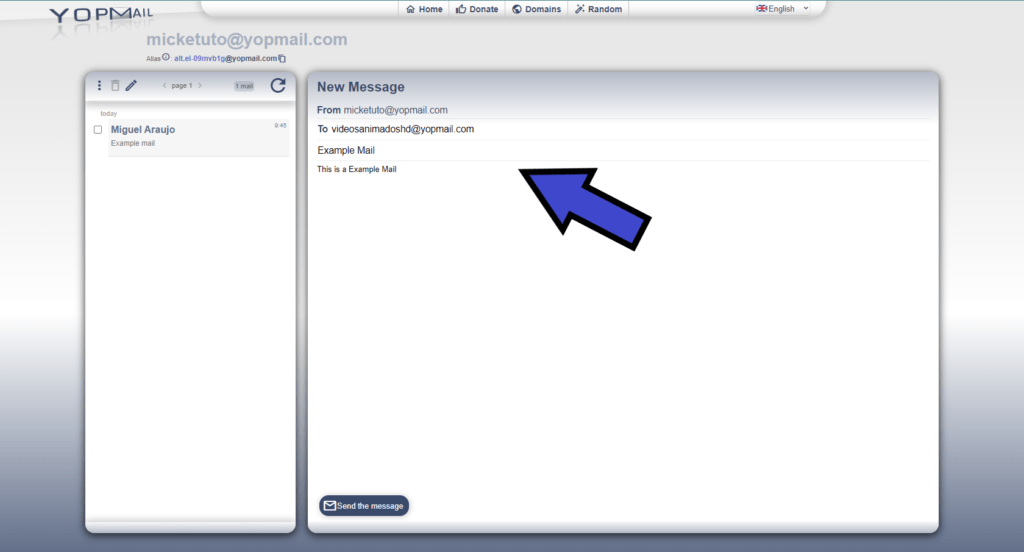
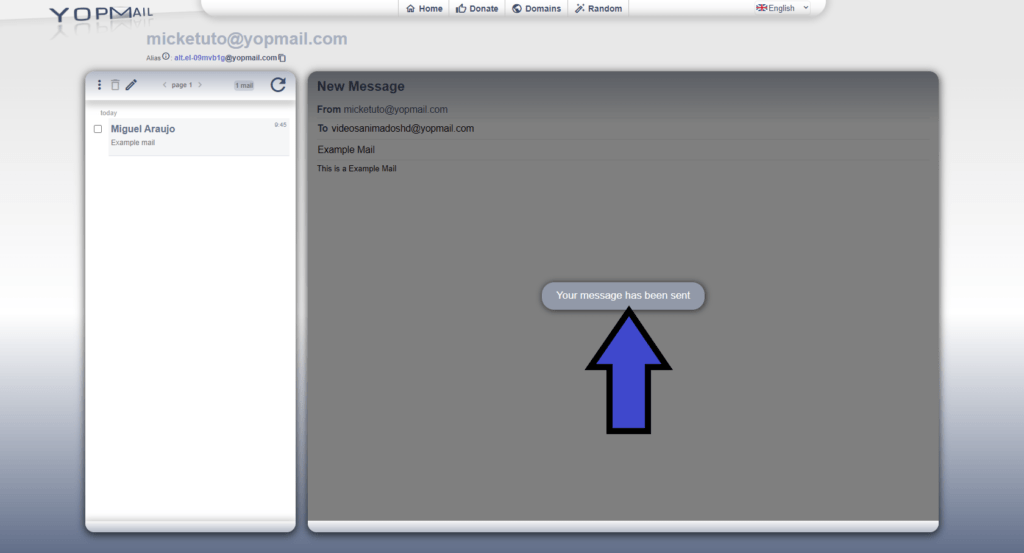
In this writing tab we just have to add a recipient in the “To:” area, write a subject or purpose to send the message in “Subject”, and write the content of the message in the “Message” section.
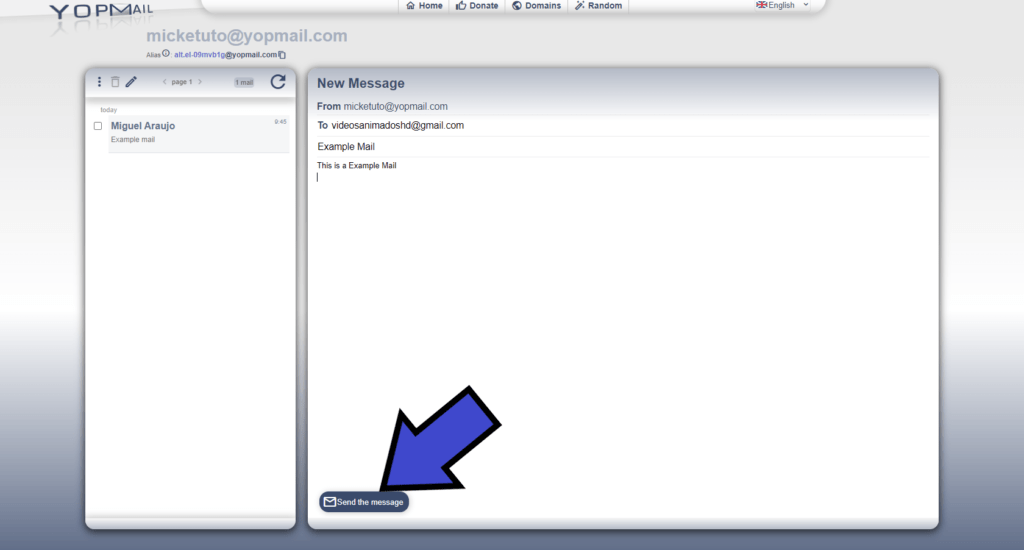
Right above where we write the email there is a code to enter, which must be typed to say to Yopmail we are not bots. Then we click on “Send” and the message will be sent.
Related posts